What you need, how it works, and legal requirements
Equipment essentials
Before you get on with extraction, you need to make sure you have the right equipment on hand. If you don’t prepare in advance, you could be left scrambling to find something in the middle of the process.
Although you can extract by hand, an extractor makes the whole process much simpler, so it might be worth renting, borrowing, or buying one.
You’ll also need:
- An uncapping knife – also known as a hot knife - to remove the wax from the cells.
- A strainer with fine mesh to strain debris from the honey.
- A storage tank or bucket for storing honey – make sure it’s food safe.
- An uncapping tray or baking tray for catching wax caps once they’re cut.
- A measuring cup with a spout, or small jug to pour honey into jars – glass is better than plastic.
- Jars for your honey – choose glass or plastic, but make sure they are food-grade and have tight-fitting lids. If you’re not sure how many jars to buy, count your supers – you can expect to get approximately 30kgs of honey per super.
Of course, if you’re a commercial beekeeper, you may need other equipment to help you grade, blend, and pack your honey. This is just the basic beginner’s list.
Easy extraction
Your honey is ready to extract when all the frames in your hive are full, and the honey has been ‘capped’ with a whitish wax.
Step one: Choose your spot
You can extract outdoors, but it won’t be easy – you’re likely to be bothered by bees looking to reclaim their honey. It’s better to find an indoor area with enough space to spread out. A garage can work, or a kitchen with plenty of bench space. Alternatively, locate your nearest Bee Club, many of which have extraction rooms available for hire. These extraction rooms are food grade certified which allows you to extract and sell your honey in a safe and clean environment!
Step two: Remove the frames
Take the fully-capped frames from each hive, leaving enough for the bees to live on over the winter. Guidelines suggest leaving 6 full frames in each hive, although some beekeepers choose to leave fewer frames and supplement feed later on.
Step three: Set up your extractor
Place your extractor in the middle of your space, so there’s plenty of room to move around it. Sit your bucket or collection container on the floor and place your strainer at the top – hook it over the sides so it won’t fall in – then place under the spout at the bottom of the extractor.
Get your uncapping sheets or baking trays ready, and plug your hot knife in nearby – make sure it’s on a safe surface, not the floor, because it will burn your skin if you touch the blade.
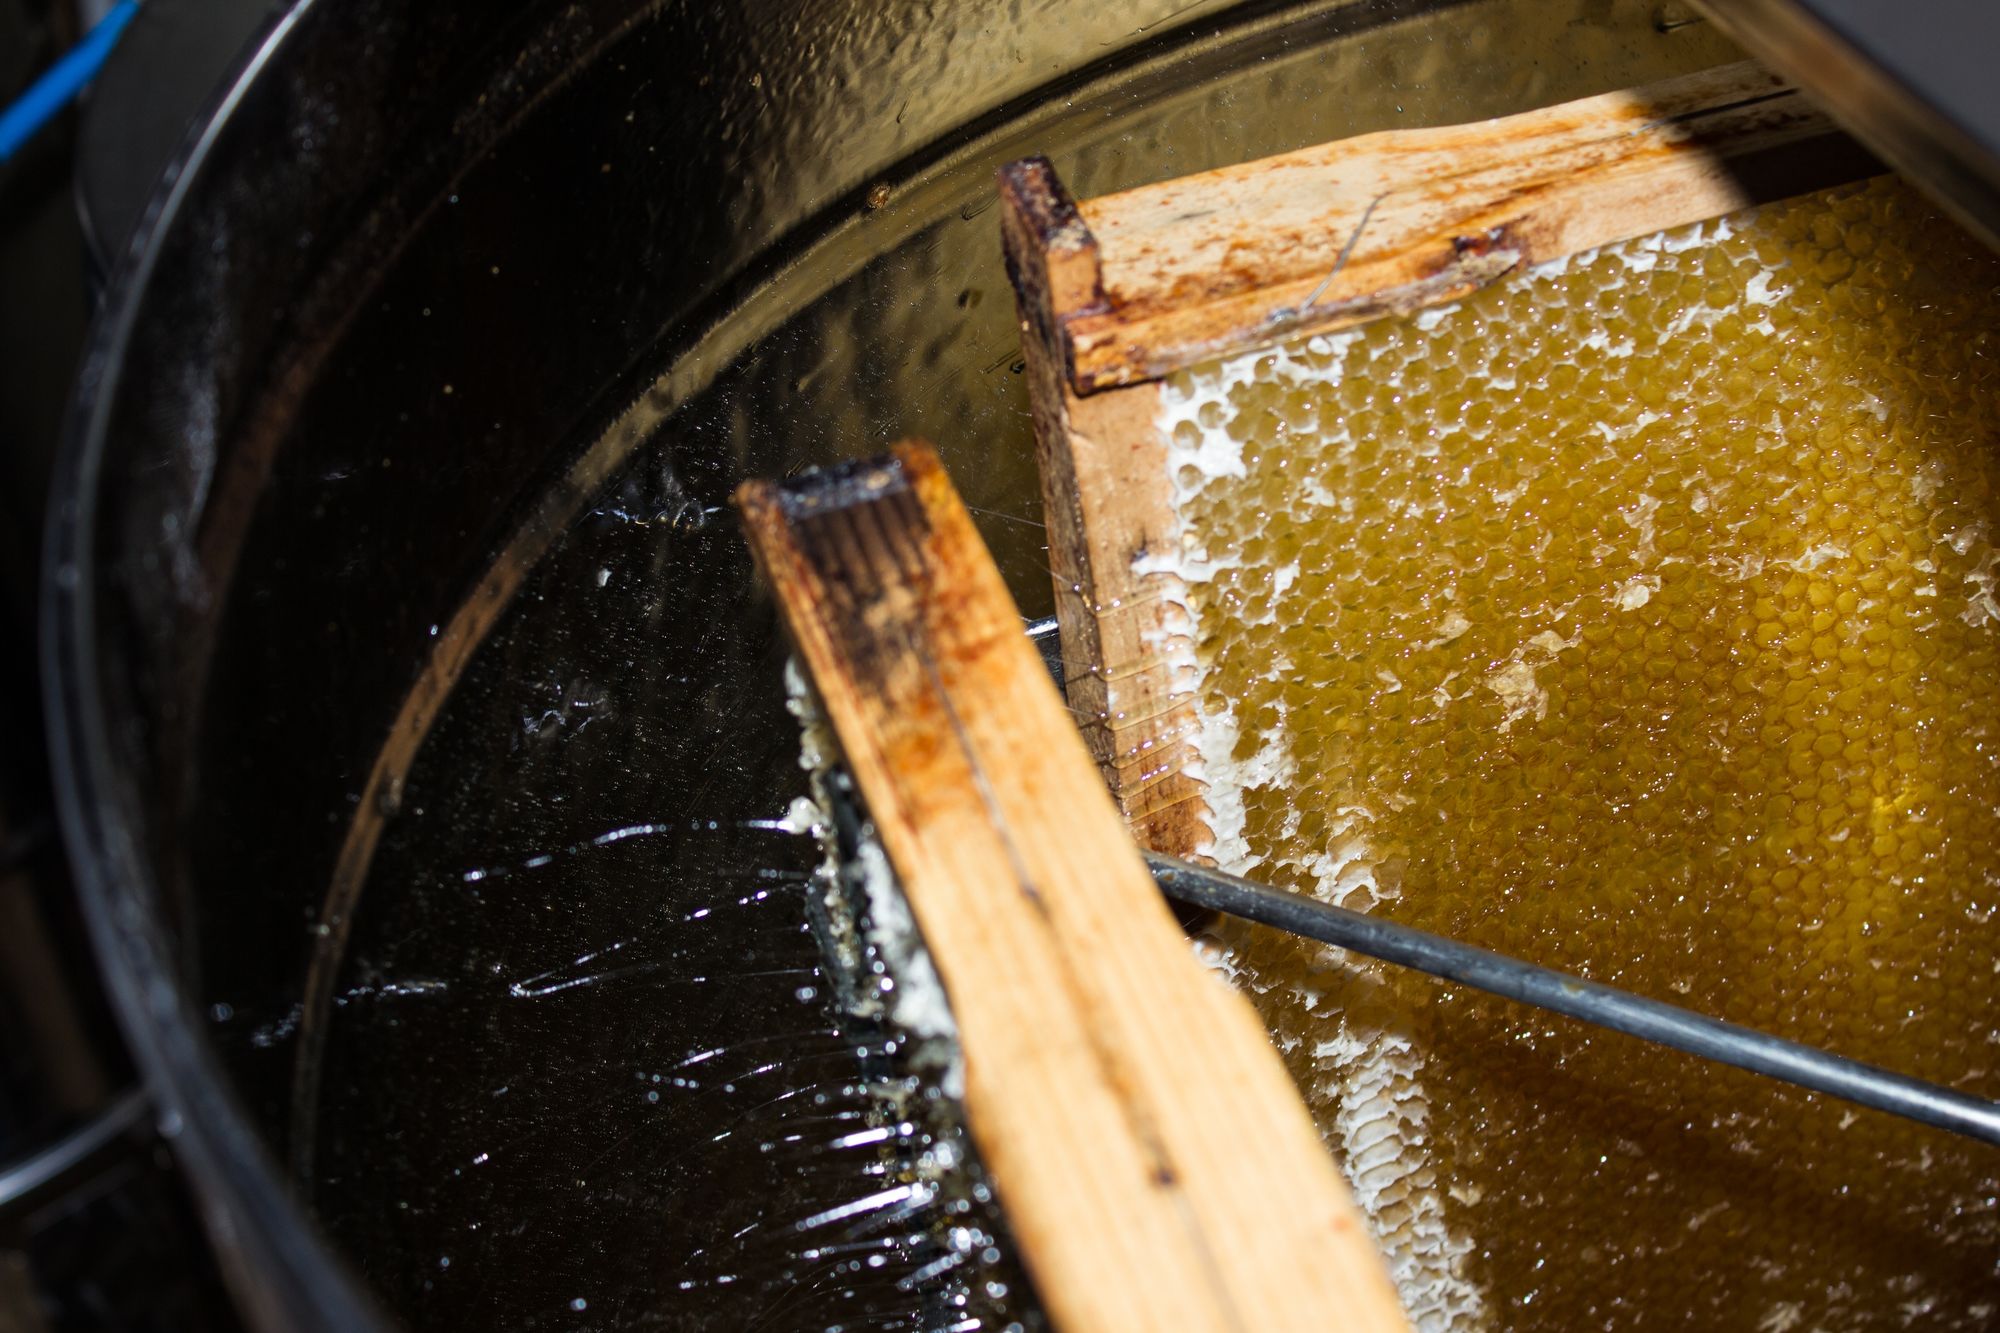
Step four: Uncapping
Once your knife is heated, grab the first honey frame and use the knife to scrape the wax cappings from the comb. Stand over a tray so you don’t get wax and honey everywhere. It can be a bit tricky to gauge the depth you need to scrape at first – try to stick to the top half centimeter or so, to avoid losing honey. Make sure to scrape both sides of each frame.
Step five: Extraction
This is where your machine comes in. Place the scraped frame inside the extractor. There will be a sleeve or bracket for frames to fit in – some extractors will take more than one frame at a time.
Then, turn the handle or switch the extractor on, depending on the type you’re using. As the extractor tank spins, the honey is forced out of the frames using centrifugal force. It drips down the sides of the tank and then out the honey gate at the bottom. It needs to be spinning pretty fast to get all the honey out of the frames.
When you’re happy that the outer side of each frame is empty, turn them around and spin to extract the honey on the other sides.
Repeat the scraping and extraction process for all your remaining frames.
Step six: Strain and collect
After you spin your first frames, honey will start to ooze down the walls of the tank and into your strainer. It may take a while for the first drops to appear, but be patient. The honey will flow into your strainer and slowly drip through the mesh into the bucket.
Once the honey starts flowing, it can take an hour or more to stop – depending on how many frames you have. If you have quite a few, you may need a second collection bucket to use once the first is full.
Step seven: Jarring and storage
When the honey finally stops dripping from the extractor, you can remove the bucket and start jarring. It’s a good idea to leave a bowl under the spout in case of extra drips.
Have your sterilised, food-safe jars ready, with your measuring cup. Take the strainer off the bucket, then use the measuring cup to scoop honey and pour into jars. Fill larger jars first, then use the remaining honey to fill smaller ones. Tightly cap each jar – and label if you like.
Step eight: Using the wax
Beeswax can be used for a number of purposes, so it’s worth hanging on to. When you’ve finished extracting your honey, take the uncapping sheets full of reserved wax out to your beehives – the bees will eat any leftover honey, and you’ll be left with clean, high-quality wax. Store it in a lidded container for future use.
Food safety and legal requirements
Extracting honey is surprisingly easy, but meeting legal requirements can be trickier.
Beekeeping is regulated to reduce the risk of diseases spreading, and to minimize food borne illness – particularly Tutin contamination, which makes the honey toxic and lethal for human consumption. Some legal requirements apply to all beekeepers, while others are only relevant to those selling or exporting honey.
Here’s a quick rundown of requirements:
- Every beehive in New Zealand must be registered with the AFB Management agency, which monitors and tests for American Foulbrood Disease.
- Anyone extracting honey for human consumption needs to comply with the Tutin contamination standards set by Food Safety NZ.
- If you are extracting honey for sale or export, you need to have Food Safety and Risk Management programs in place.
- Commercial sellers and exporters need to follow processing, storage, and labelling guidelines set by the Ministry for Primary Industries.
Eat, give, sell
Whether you’re keen to harvest honey for yourself and your friends, or you want to look into selling, starting out as a beekeeper can be overwhelming. If you’re confused about any of the processes and requirements, it’s worth getting in touch with a local beekeeping group or organisation. They’ll be able to offer guidance, help you with extraction, and give advice about the legal requirements.
It’s definitely worth the effort in the long run. When you’ve been a beekeeper for a while, all the steps that seem difficult at first become second nature.
If you’re looking for extraction equipment or advice, talk to the team at Ecrotek now.